Monday, June 21, 2010

Ice Cream and leftovers

Though, preferably not at the same time.

Just to prove that Ice Cream is a happy thing:

Now, I had several miscellaneous left overs in the fridge that needed dealing with - carnitas, mexican rice, cheese, tomatoes, corn... I combined them all, loaded up a romaine lettuce leaf, topped with crunchy chow mein noodles, sour cream, cotija cheese, cilantro and lime juice..... don't knock it till you try it.... warm up the carnitas, rice, cheese & corn. Fill the romaine leaf and top with the rest of the goodies & eat like a "taco."

Thursday, June 17, 2010

Beth's favorite chicken

Last time I made this, Beth told me I didn't make enough.... so tonight I cooked up 6 chicken breasts worth of this stuff.

It's SUPER easy. Cut each boneless skinless breast into 3rds, and place in a zip loc bag. Add a bottle of "30 minute marinade" - you can use Lawry's or any house brand equivalent - I've used both and they come out the same. The flavor I use is the Herb & Garlic one. Let them sit in the marinade for at least 30 minutes. Place them on the grill & cook for several minutes on low heat turning & basting with any left over marinade.

YUM.

You can serve them with these yummy sliced baked potatoes -

4 lg russet potatoes, scrubbed and sliced into 1/8-1/4 inch slices, but don't cut them all the way through - you want the potatoes to "fan" out when you place them in a baking dish.
1 cube butter, melted
2 tbsp finely chopped herbs - I used fresh: lemon thyme, parsley, basil and rosemary
salt & pepper
cheeses - about 1/4 cup grated/shredded cheese of your choice.

Heat oven to 425
place prepared potatoes in the pan, pour the melted butter over the potatoes, sprinkle the herbs, salt & pepper over the top - make sure the butter gets in between each slice of the potatoes.
Bake uncovered for 50 to 60 minutes
Remove from the oven and with a pastry brush, baste the potatoes with the butter from the pan. Sprinkle cheese over the top - tonight I used a mix of grated cheddar and fresh parmesan
Place back in the oven and bake another 10 minutes.
Enjoy!

Friday, June 11, 2010

Carnitas & homemade flour tortillas

I love Mexican fare. Of all the "ethnic" foods out there, it's positively my favorite. I love the contrasts - colors, flavors, textures, temperatures (hot/cold, spicy/mild etc). Today, we had MEXICAN!!! 'Ole!

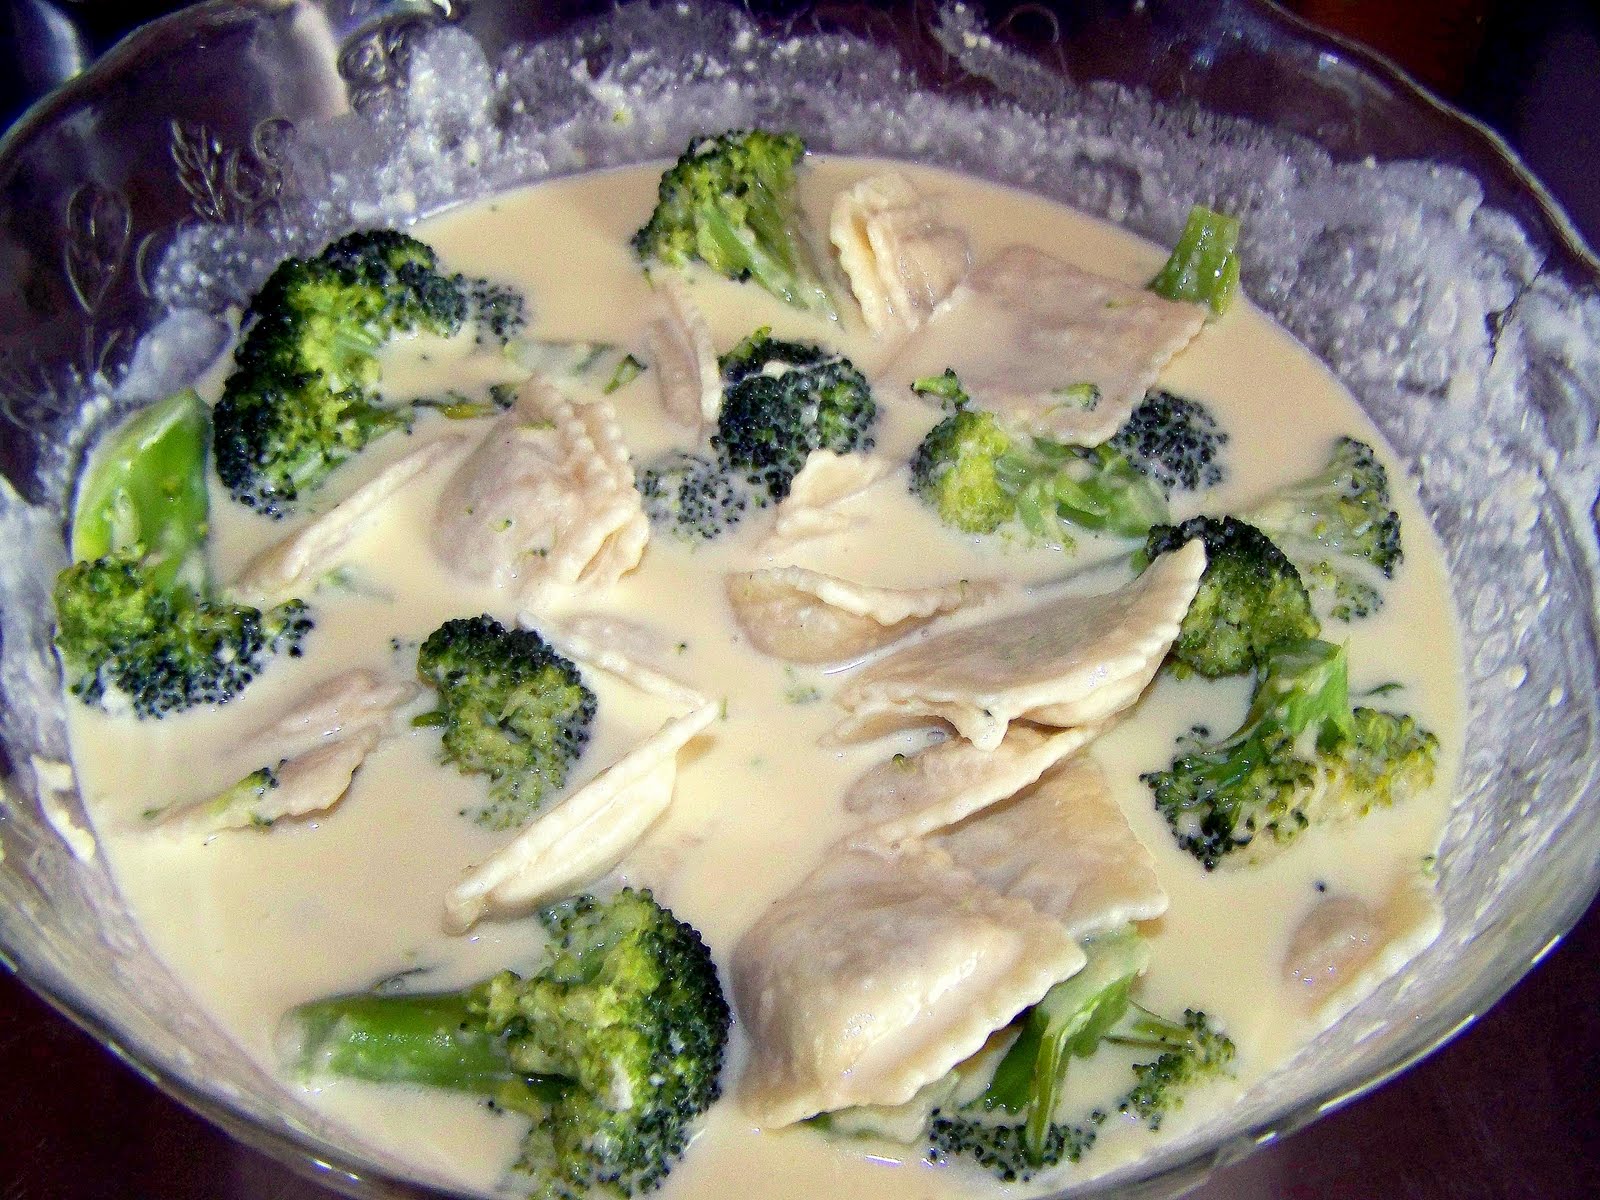
First, I started by reheating the yumminess that I'd started yesterday in the crock pot - at that time, it looked like this:

And THIS, this is pork carnitas, AFTER being cooked for hours upon hours - trust me, the flavor is out of this world! I added a can of fire roasted chiles and diced up a largish roma tomato. Set the crock pot to high. After cooking the better part of yesterday, the meat was fork tender and was easily shredded. Certainly not "authentic" Mexican carnitas, but it's my own spin on them. AND a dear little Mexican friend of mine gave me her seal of approval, so I'm good with it!

A couple hours before dinner time, I put the crock back in the heating unit, set it to "warm" and left it alone. While the carnitas were spending some quality time with the chiles and tomatoes and broth created from cooking all day yesterday, I made PW's flour tortillas.

I opted to wait to make these until I had lard. Having never made fresh flour tortillas before, and having never used lard before, I figured this would be the perfect opportunity to do both. I'm glad I did, on both accounts. The lard was essentially like shortening, with two subtle differences: 1. consistency - it's rather gelatinous where shortening is more solid. 2. smell - well, this should not have been a surprise but I really wasn't expecting it. It smelled like FAT, as in the FAT smell when I cooked down the pork carnitas and the fat was all liquified. I know, big shocker!

As far as PW's recipe goes, it was NOT hard. I kneaded the dough, let it sit, and then shaped it into balls. Clearly, I have NO ability to make uniformly sized balls of dough though:

I followed the recipe, and after rolling out a few with my rolling pin (which is marble), I decided to try just sort of smushing them out. Remarkably, I found this to be FAR easier than the rolling pin and I was able to achieve a more uniformly round shape - which pleased my inner perfectionist quite nicely. I rushed Beth through the next few pics.... sadly they didn't turn out as clear as we'd have liked).

Cooking them proved to be the more challenging part of this - getting the heat to be just right so that they weren't under or over cooked. After they were cooked, I placed them in my handy-dandy tortilla keeper and left the lid on them until the rest of dinner was ready. The only thing I noticed was that they became a little brittle after being exposed to air for a while - my guess is that I made them just a touch too thin. No matter though, they were WAY better than store bought.

Now, a Mexican meal is not complete without an appropriate side dish. And I'm not talking beans. NO BEANS ALLOWED here. While I could  have made one from scratch, by adding some of my pico to some cooked rice:

I opted instead to use this little number - FAR easier than steaming some rice etc. AND, this is NOT Spanish rice, which is more red than this. My family prefers this to traditional Spanish rice. Go figure!

Though I didn't get any pictures of it all together, I served up the shredded and seasoned carnitas with the Mexican Rice, pico, the fresh tortillas, tomatoes, lettuce, colby jack cheese, Cotija cheese, sour cream... and of course limes and cilantro.

YUM.

Wednesday, June 9, 2010

Ravioli & Broccoil with PW's Alfredo Sauce.

Because I was exhausted from building a fence today, I wanted EASY yet satisfying food for dinner tonight. I wanted pasta... and some sort of creamy sauce.... and did I mention I wanted it to be EASY??? Off I went to PW's recipes and found her Alfredo sauce.... 3 ingredients (plus salt & pepper). THAT was what I was looking for.

I pulled some of these little jewels out of the freezer. If you've never tried these, you really should. They're phenomenal, for frozen stuff that is. They also went REALLY well with the cheesy Alfredo sauce - there's NO cheese in them and the chicken/herb mix was a perfect compliment/contrast to the creamy cheesy sauce.

I steamed some broccoli and added it to the raviolis & Alfredo sauce.

Ok, so I could have wiped around the edge of the bowl to make it look pretty... and I did forget to top it with the extra Parmesan before I served it up.... but hey, I was too tired and too hungry to care! Take a look at it though... Ohmigosh it was yummy.

I also baked some Pilsbury crescent rolls, and dinner was ready in less than 30 minutes. The best part??? It was absolutely, positively delicious. Dad loved it. The kids loved it. I loved it. It was just what I was hoping for, and it was easier than I imagined. And, PW wasn't kidding, I fell in love with this sauce. I can't believe I ever thought Alfredo sauce was difficult to make, and I can't believe I ever bought jars full of the stuff, or even the little packets of sauce mix. I will NEVER, EVER, scout's honor, make Alfredo sauce any way but this way, ever again.

The only word of caution I have is in regard to the salt. I thought at first that I had oversalted it - Parmesan is pretty salty, and I'd already added some salt to the cream/butter mixture before I added the cheese. However, it turned out perfect. So, perhaps use less than you think it needs, because you can always add more later!

Sunday, May 30, 2010

Memorial Day Yummies

Let me start this off by saying that I ate WAY too much tonight.....The main course is what we call Hillbilly BBQ. It utilizes a rather unconventional cooking utensil - it's the ultimate in recycling of old items which would have otherwise been headed for the junk pile, and then the land fill.

1 50 gallon drum, top removed. Drill some holes around the bottom and top it off with an old Webber BBQ lid. The only other thing you need are metal rods - such as rebar - to hang the meat from. Now, meat is not the only thing you can cook in these puppies - you can cook whole meals in here, everything from sides to desserts. Here you can see the smoke coming from the top of the barrel as well as off the sides - they get REALLY hot and even the painted outside smokes.

Today's menu was barrel cooked chickens, corn on the cob, dill pickle and olive potato salad, super garlic bread and dessert of fresh blackberry cobbler.

The chickens are easy - pour a whole large bag of charcoal into the barrel, give it a good dousing of lighter fluid and set it aflame until it's all gray. While that's happening, rinse your whole chickens, hang them with wire hangers (see, they are still good for something!!) and liberally coat with season salt or your choice of other seasonings - today I did one with Lawry's Season Salt and the other with Garlic Salt. Hang them over the hot coals, cover with the lid and walk away.

After 2 hours or so, they look like this:

Remarkably, this chicken is super moist, even though it's cooked hanging over the hot coals. You know they're done when the skin over the legs is nearly translucent. And, when you lay them in a pan to serve, the legs will usually pull this number: 

The potato salad is a little different than the typical - it has NO acidic flavor and is really yummy - you'll need potatoes, whole kosher baby dills (I opted for garlic ones), sliced olives, mayo, hard boiled eggs, celery and salt & pepper. I mix the egg yolks with the mayo before adding it to the rest of the ingredients. The pickles and celery should be diced up pretty small - including some of the celery leaves as well.

The bread was an experiment that went rather well - pick your choice of soft bread rolls - these were some "un-named" rolls in a bin at Save Mart. The key is to look for SOFT bread. I'm sure crusty bread would work as well, but I've always made oven broiled stuff with soft breads. I mixed "spread" (Country Crock) with several tablespoons of garlic - you can either mince up your own, or use the stuff in the jar - I didn't feel like mincing up several tablespoons of garlic. Add an amount of granulated Cotija cheese (or Parmesan in the green container) equal to the spread and some parsley for color. Mix well and spread thickly over the bread. Place under the broiler and watch carefully - you want them golden and just crispy on the top but not burned. I got a little impatient and didn't quite let them cook long enough. The garlic flavor was intense and there wasn't much bread left after dinner.

Corn.... well, that's pretty simple - boil water, add corn, boil some more. Serve with lots of butter, salt & pepper.

And finally, the blackberry cobbler. I followed PW's recipe for the fruit, but was out of eggs for the topping so I sort of winged it....
While this was a good cobbler, I wasn't a big fan of the lemon taste. Though, I'm still searching for something comparable to the cobbler we had several years back at the Trinidad Bay Eatery... Oh man... THAT was amazing stuff.

Good thing we didn't have to go do anything else, cause this meal was a food coma waiting to happen!

Monday, May 10, 2010

Cinnamon Toast

Like most people, I'd never given cinnamon toast much thought... You toast bread, smear it with butter (or spread) and sprinkle the melted butter with a cinnamon/sugar mixture.... It's one of the first foods many kids learn how to make - that's WARM.

Well PW has, once again, shown me the "error of my ways" with her cinnamon toast recipe. Let me clarify... I really try not to use "right" and "wrong" as terms - a lot of what people think of as right or wrong is subjective.. oh heck, MOST if not ALL of it is subjective..... here it's "wrong" to belch loudly in public... elsewhere, it's a compliment.

Anyway, I learned a NEW way of making cinnamon toast today. Granted it takes a little longer, but does make 8 times the quantity that you make at once when you use the old toaster method. You can read her full recipe here.... but I thought I'd just leave you with a few pictures and my own comments.

First, I didn't really follow her directions to the letter... I put all the ingredients in the bowl & then mixed them up - as opposed to her recommendation to mush up the butter first... what can I say, sometimes I just can't handle following directions precisely. I also halved the recipe because it was just me and LD:

Once it's mixed up, this is what it looks like... and I am here to say, I could eat this straight from the bowl...

Pretty straightforward recipe, mix it all up, spread it on the bread

Bake and then broil briefly till it's bubbly

Then, cut and serve

Just LOOK at that - it's crispy yet chewy but not tough... and has amazing flavor... must be the vanilla!

Wednesday, May 5, 2010

Dear Mandolin, I love you.

Even though much of today was spent lounging round, watching movies & eating popcorn, I did need to come up with a "real" meal for dinner. We'd just finished up the rest of the left overs last night and it was time to have something new. The result was apricot glazed chicken, baked potatoes and steamed Mexican Squash.

First though, I want to introduce you to one of my most favorite kitchen tools. The Mandolin. You don't have to spend a wad of dough to get one either - this is a Martha Stewart one from Kmart - I bought it a few years ago for less than $10.

A mandolin will completely change the way you think about slicing veggies - particularly when you want nice, even thin slices. This is PERFECT for slicing carrots for stir fry, potatoes for au gratin dishes, and in this case, squash for steaming. A word of caution though, this puppy is crazy sharp. You're slicing along and all of a sudden you've reached the end of your item and the next thing you know you're slicing your finger tips off. But, if you are paying attention, the mandolin is an invaluable tool.

Just look what it did - I started with two of these little Mexican Squash - about 5" long:

I sliced off the blossom end - to use the stem end as a handle of sorts, and these perfectly even slices are what you end up with:
These perfect slices of squash made my inner perfectionist sing. As did this pan with steamer insert. These were some that my grandma bought before she passed away. I have no idea what they cost her but I bet it was a pretty penny.

But, it was really the chicken that was the star of tonight's dinner - here's the recipe of sorts:

Place 8 frozen chicken thighs, skin & all, into a crock pot with some salt & pepper.
Cook on high for a few hours, until they are almost, but not quite falling off the bones.
Remove the skin, take the meat off the bones and place it in a 9x13 pan.
Return the skin and the bones to the crock pot - add 3 cups of water and leave on high - this makes great chicken stock. Cook until the meat falls off the bones, strain & refrigerate for later use.

In a mixing bowl, combine the following - and I apologize in advance, I was too lazy today to get exact measurements so you'll have to wing it:

Most of a jar of apricot preserves
A generous splash of Worstershire
Add some dijon mustard
Finally, throw in several shots of Tabasco sauce

A lot of this is dependent upon your individual tastes, so add a little, mix and taste, adjust as needed.

Once the sauce is mixed up, pour over the chicken.

Bake for 20-30 minutes at 400 degrees. After that, it looks like this:

Serve with some yummy sides - like baked potatoes and steamed squash. Don't forget to top your potatoes with plenty of butter, sour cream and chives.

Hope you enjoy!!