Sunday, July 18, 2010
Now THIS is Fried Chicken
Look at that... THAT is fried chicken. What makes it different than any other fried chicken you ask? Oh let me tell you my dear. THIS is what makes the difference.This marvelous device:
If you don't have a deep fryer, you really are missing out. And they're good for more than just making chicken that looks this good.
I made MUCH more than Dad, LD & I could eat for dinner tonight. I used the "boneless, skinless chicken tenders" that you can find at Costco - They come all cut up and packaged into pouches. I used three pouches (About 30 pieces of Chicken total). Marinaded in Italian dressing for a few hours, then drained it. Coated in flour, dipped in and egg and 1/2 & 1/2 mix and then breaded it in equal parts plain bread crumbs and Parmesan Cheese. A few minutes in the deep fryer and they were prefect.
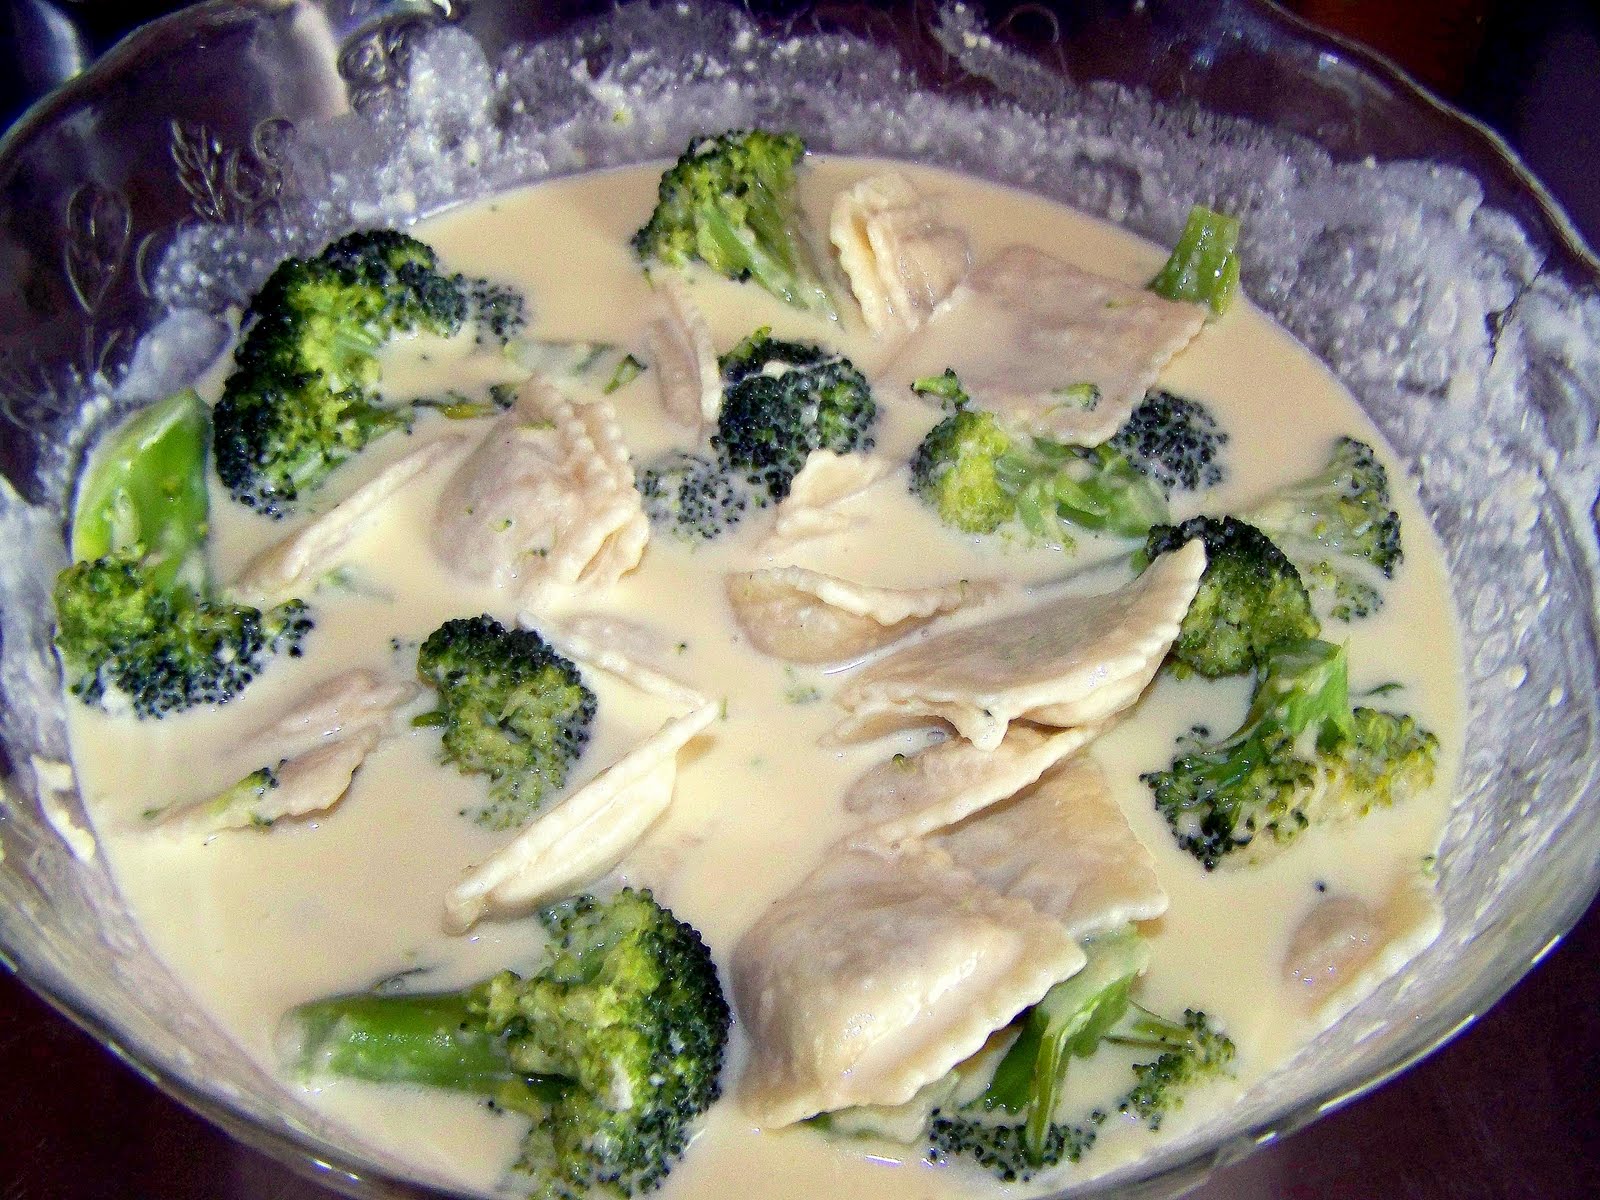
Add Easy Chicken Gravy, some biscuits and a veggie of your choice (or a salad) and you've got a fairly easy meal. The hardest part was cooking all that chicken! It just took quite a bit of time, but the deep fryer made it painless - literally - no hot oil splattering on me!
Easy Chicken Gravy:
3 tbsp butter
3 tbsp flour
1 can chicken broth
A generous splash of heavy cream
parsley
Melt the butter in a sauce pan, add flour and wisk together - it will start to thicken immediately. Add the chicken broth, mix well and then add the cream. If the chicken flavor isn't strong enough you can add a couple teaspoons of chicken bullion. Add a tablespoon or so of dried parsley and stir and simmer till it thickens - should only take a few minutes!
From French Fries, Onion Rings, Mozarella Sticks and Fried Zuchinni to Donuts, and Oh so much more. Yeah, I know, you can fill a deep pan with oil and achieve very similar results. However, the biggest difference comes when it's time to clean up. The last time I made my Italian Fried Chicken, I fried the pieces in a deep frying pan. It required turning them over mid way through the cooking. And the mess? And smoking oil? Oh goodness, it was something else. And you can't beat a deep fryer for even cooking either.
So let me say this again - if you don't have a deep fryer, you NEED one. I'm not saying cook things in it every day. What I'm saying is that for every 10 times you cook something that CAN be fried another way (such as the oven or stove top etc), please cook that same thing just ONCE in the deep fryer. You'll be glad you did... or maybe you'll hate me for talking you into it.
Wednesday, July 14, 2010
First harvest
Today, I picked the first of our harvest (not counting a couple of tomatoes...those were a snack while I was watering). If you're interested in the rest of the gardening woes, read on here. And, if you're interested in a snack of more than a couple tomatoes, have at this one.
Today though, we're talking Peas.
Not a lot, but enough to add to a pasta salad
2-3 cups assorted pasta
2.25 oz sliced olives
peas... I think I got MAYBE 1/4 cup
1 dozen grape tomatoes, quartered or smaller
Gorgonzola cheese
dressing of choice - I made one using the following:
1/4c. olive oil
1/4c. +2tbsp rice vinegar (roasted garlic flavor)
1 tbsp sugar
Cook the pasta & add the peas in the last 10 seconds, drain and rinse thoroughly with cold water until completely cool.
Add tomatoes, olives & cheese, top with dressing, refrigerate at least 30 minutes before serving
I also made some sweet & tangy meatballs and PW's Buttered Rosemary rolls and we made them into the most amazing sandwiches!
Wednesday, July 7, 2010
Sesame Hoisin Shrimp
When I set out to make this I started by thinking of what I HATE about Chinese food - not much sauce. It always seems to me that there's just enough sauce on the stuff to make me wish there was more. So obviously, my first goal was to make sure that there was an abundance of sauce... I wanted sauce left over! And guess what? I have LOTS of left overs!
Start by steaming some Calrose rice - make sure it's good & sticky! I love my rice steamer, but you can use a good 'ole pan if that's what floats your boat.
While that's cooking, prep your veggies - 2 carrots sliced ultra thin (use a mandolin if you can)
2/3 of a large yellow onion, sliced
1 lg head of broccoli, stems & all, sliced up
Next, make the sauce - mix these together in a bowl & set aside:
8 ozs. Hoisin Sauce, hold out 3 tbsp for the marinade for the shrimp
2 14oz. cans chicken broth, hold out 1/4c. for the marinade
2 tbsp soy sauce
1 tbsp toasted sesame oil
1 tsp minced ginger
1 tbsp minced garlic
6 tbsp corn starch
Now, marinade the shrimp: you could use any meat you like here, I just had shrimp that I needed to use:
60 smallish shrimp, prepped, cooked (I like the bagged frozen ones - all you have to do is defrost & pull off the tails)
Mix up the following and pour over the shrimp & stir
2 tbsp soy sauce
3 tbsp hoisin sauce
1/4 c. chicken broth
Make sure you let the shrimp marinade at least 30 minutes
About 20 minutes into the marinading process, heat some sesame oil in a large skillet - LOTS of sesame oil - a couple tablespoons at least.
Toss in the onions, carrots & broccoli. Stir till the onions are starting to cook then add some water, stir around and cover for about 5 minutes letting the water steam the veggies. You can cook longer, just all depends on how you like your veggies.
Once the veggies are starting to become how you like them, add the shrimp, mix to combine and then add the sauce.
Where's the picture of the veggies & shrimp in the sauce you ask? Well.... I kinda got hungry & forgot to take a picture of it....Serve like I did, over that sticky steamed rice, or chow mein noodles etc.... top with a sprinkle of sesame seeds.
And then, wonder why you haven't used Hoisin Sauce before!
Monday, June 21, 2010
Ice Cream and leftovers
Though, preferably not at the same time.
Just to prove that Ice Cream is a happy thing:
Now, I had several miscellaneous left overs in the fridge that needed dealing with - carnitas, mexican rice, cheese, tomatoes, corn... I combined them all, loaded up a romaine lettuce leaf, topped with crunchy chow mein noodles, sour cream, cotija cheese, cilantro and lime juice..... don't knock it till you try it.... warm up the carnitas, rice, cheese & corn. Fill the romaine leaf and top with the rest of the goodies & eat like a "taco."
Thursday, June 17, 2010
Beth's favorite chicken
Last time I made this, Beth told me I didn't make enough.... so tonight I cooked up 6 chicken breasts worth of this stuff.
It's SUPER easy. Cut each boneless skinless breast into 3rds, and place in a zip loc bag. Add a bottle of "30 minute marinade" - you can use Lawry's or any house brand equivalent - I've used both and they come out the same. The flavor I use is the Herb & Garlic one. Let them sit in the marinade for at least 30 minutes. Place them on the grill & cook for several minutes on low heat turning & basting with any left over marinade.
YUM.
You can serve them with these yummy sliced baked potatoes -
4 lg russet potatoes, scrubbed and sliced into 1/8-1/4 inch slices, but don't cut them all the way through - you want the potatoes to "fan" out when you place them in a baking dish.
1 cube butter, melted
2 tbsp finely chopped herbs - I used fresh: lemon thyme, parsley, basil and rosemary
salt & pepper
cheeses - about 1/4 cup grated/shredded cheese of your choice.
Heat oven to 425
place prepared potatoes in the pan, pour the melted butter over the potatoes, sprinkle the herbs, salt & pepper over the top - make sure the butter gets in between each slice of the potatoes.
Bake uncovered for 50 to 60 minutes
Remove from the oven and with a pastry brush, baste the potatoes with the butter from the pan. Sprinkle cheese over the top - tonight I used a mix of grated cheddar and fresh parmesan
Place back in the oven and bake another 10 minutes.
Enjoy!
Friday, June 11, 2010
Carnitas & homemade flour tortillas
I love Mexican fare. Of all the "ethnic" foods out there, it's positively my favorite. I love the contrasts - colors, flavors, textures, temperatures (hot/cold, spicy/mild etc). Today, we had MEXICAN!!! 'Ole!
First, I started by reheating the yumminess that I'd started yesterday in the crock pot - at that time, it looked like this:
And THIS, this is pork carnitas, AFTER being cooked for hours upon hours - trust me, the flavor is out of this world! I added a can of fire roasted chiles and diced up a largish roma tomato. Set the crock pot to high. After cooking the better part of yesterday, the meat was fork tender and was easily shredded. Certainly not "authentic" Mexican carnitas, but it's my own spin on them. AND a dear little Mexican friend of mine gave me her seal of approval, so I'm good with it!
A couple hours before dinner time, I put the crock back in the heating unit, set it to "warm" and left it alone. While the carnitas were spending some quality time with the chiles and tomatoes and broth created from cooking all day yesterday, I made PW's flour tortillas.
I opted to wait to make these until I had lard. Having never made fresh flour tortillas before, and having never used lard before, I figured this would be the perfect opportunity to do both. I'm glad I did, on both accounts. The lard was essentially like shortening, with two subtle differences: 1. consistency - it's rather gelatinous where shortening is more solid. 2. smell - well, this should not have been a surprise but I really wasn't expecting it. It smelled like FAT, as in the FAT smell when I cooked down the pork carnitas and the fat was all liquified. I know, big shocker!
As far as PW's recipe goes, it was NOT hard. I kneaded the dough, let it sit, and then shaped it into balls. Clearly, I have NO ability to make uniformly sized balls of dough though:
I followed the recipe, and after rolling out a few with my rolling pin (which is marble), I decided to try just sort of smushing them out. Remarkably, I found this to be FAR easier than the rolling pin and I was able to achieve a more uniformly round shape - which pleased my inner perfectionist quite nicely. I rushed Beth through the next few pics.... sadly they didn't turn out as clear as we'd have liked).
Cooking them proved to be the more challenging part of this - getting the heat to be just right so that they weren't under or over cooked. After they were cooked, I placed them in my handy-dandy tortilla keeper and left the lid on them until the rest of dinner was ready. The only thing I noticed was that they became a little brittle after being exposed to air for a while - my guess is that I made them just a touch too thin. No matter though, they were WAY better than store bought.
Now, a Mexican meal is not complete without an appropriate side dish. And I'm not talking beans. NO BEANS ALLOWED here. While I could have made one from scratch, by adding some of my pico to some cooked rice:
I opted instead to use this little number - FAR easier than steaming some rice etc. AND, this is NOT Spanish rice, which is more red than this. My family prefers this to traditional Spanish rice. Go figure!
Though I didn't get any pictures of it all together, I served up the shredded and seasoned carnitas with the Mexican Rice, pico, the fresh tortillas, tomatoes, lettuce, colby jack cheese, Cotija cheese, sour cream... and of course limes and cilantro.
YUM.
Wednesday, June 9, 2010
Ravioli & Broccoil with PW's Alfredo Sauce.
Because I was exhausted from building a fence today, I wanted EASY yet satisfying food for dinner tonight. I wanted pasta... and some sort of creamy sauce.... and did I mention I wanted it to be EASY??? Off I went to PW's recipes and found her Alfredo sauce.... 3 ingredients (plus salt & pepper). THAT was what I was looking for.
I pulled some of these little jewels out of the freezer. If you've never tried these, you really should. They're phenomenal, for frozen stuff that is. They also went REALLY well with the cheesy Alfredo sauce - there's NO cheese in them and the chicken/herb mix was a perfect compliment/contrast to the creamy cheesy sauce.
I steamed some broccoli and added it to the raviolis & Alfredo sauce.
Ok, so I could have wiped around the edge of the bowl to make it look pretty... and I did forget to top it with the extra Parmesan before I served it up.... but hey, I was too tired and too hungry to care! Take a look at it though... Ohmigosh it was yummy.
I also baked some Pilsbury crescent rolls, and dinner was ready in less than 30 minutes. The best part??? It was absolutely, positively delicious. Dad loved it. The kids loved it. I loved it. It was just what I was hoping for, and it was easier than I imagined. And, PW wasn't kidding, I fell in love with this sauce. I can't believe I ever thought Alfredo sauce was difficult to make, and I can't believe I ever bought jars full of the stuff, or even the little packets of sauce mix. I will NEVER, EVER, scout's honor, make Alfredo sauce any way but this way, ever again.
The only word of caution I have is in regard to the salt. I thought at first that I had oversalted it - Parmesan is pretty salty, and I'd already added some salt to the cream/butter mixture before I added the cheese. However, it turned out perfect. So, perhaps use less than you think it needs, because you can always add more later!
Subscribe to:
Posts (Atom)